MS Teams Integration Setup
This guide walks you through the process of integrating your custom bot or app with Microsoft Teams. Follow each step carefully to ensure a smooth and successful integration.
Prerequisites
Before beginning, make sure you have the following:
- A Microsoft Azure account with permission to register apps
- Microsoft Teams access
Step 1: Register Your App in Azure
Head over to: Microsoft Azure portal (PWA)
1. Search "App Registrations" in the search bar

2. Click on New registration

3. Type the Application Name

4. Select the second option from this list

5. Click on Register

Generating Client Secret
1. Click on New client secret

2. Create a client secret by filling these fields

3. Click on Add

4. Copy the secret value and ID, make sure to save the secret before leaving the page.

Access Azure App Details
1. Go to Overview

2. Copy ClientID and TenantID

API Permissions
1. Click on API permissions

2. Click on Add a permission

3. Click on Microsoft Graph

4. Click on Application permissions

5. Type "user"

6. Expand User group

7. Select User.Read.All

8. Click on Add permissions

9. User.Read.All permission is assigned to your Application

Step 2: Provide Azure Credentials
Once the app is registered, please share the following details with our team:
- Client Secret – Generated from the Certificates & secrets section in Azure.
- Client ID (Application ID) – Available in the Overview section of your registered Azure app.
- Tenant ID – Also located in the Overview section of the app in the Azure Portal.
- Agent ID – Available in the About section of your agent on Ejento AI.
⚠️ Ensure you store these values securely
After receiving these, we’ll provide your dedicated domain URL required for integration.
Step 3: Configure the Manifest File
Create and edit a manifest.json file to define your Teams app.
Use the following template and replace the placeholder values with your own:
Click to expand manifest.json template
{
  "$schema": "https://developer.microsoft.com/en-us/json-schemas/teams/v1.16/MicrosoftTeams.schema.json",
  "manifestVersion": "1.16",
  "version": "1.1.5",
  "id": "YOUR_APP_CLIENT_ID",
  "packageName": "com.microsoft.teams.extension",
  "developer": {
    "name": "Data Science Dojo",
    "websiteUrl": "https://ejento.ai/",
    "privacyUrl": "https://ejento.ai/#/privacy-policy",
    "termsOfUseUrl": "https://ejento.ai/#/terms-of-use"
  },
  "icons": {
    "color": "YOUR_ICON_COLOR.png",
    "outline": "YOUR_ICON_OUTLINE.png"
  },
  "name": {
    "short": "YOUR_APP_NAME",
    "full": "YOUR_APP_NAME"
  },
  "description": {
    "short": "YOUR_APP_DESCRIPTION",
    "full": "YOUR_APP_DESCRIPTION"
  },
  "accentColor": "#FFFFFF",
  "bots": [
    {
      "botId": "YOUR_APP_CLIENT_ID",
      "scopes": ["personal", "team", "groupchat"],
      "commandLists": [
        {
          "scopes": ["personal", "team", "groupchat"],
          "commands": [
            {
              "title": "Configure agent",
              "description": "Set up other agents."
            },
            {
              "title": "Show agent",
              "description": "Show the configured agent."
            },
            {
              "title": "Reset",
              "description": "Reset the history of the agent."
            },
            {
              "title": "Help",
              "description": "Get help from documentation."
            }
          ]
        }
      ],
      "isNotificationOnly": false,
      "supportsCalling": false,
      "supportsVideo": false,
      "supportsFiles": true
    }
  ],
  "composeExtensions": [],
  "configurableTabs": [],
  "staticTabs": [],
  "permissions": ["identity", "messageTeamMembers"],
  "validDomains": ["token.botframework.com", "GET_DOMAIN_FROM_DSD"],
  "webApplicationInfo": {
    "id": "YOUR_APP_CLIENT_ID",
    "resource": "api://botid-YOUR_APP_CLIENT_ID"
  }
}
Replace the Placeholder Values
| Placeholder | Replace With |
|---|---|
YOUR_APP_CLIENT_ID | The Client ID from Azure |
YOUR_APP_NAME | Your app's name |
YOUR_APP_DESCRIPTION | A short and full description of your app |
YOUR_ICON_COLOR.png | App logo image file (or use dsd_icon.png) |
YOUR_ICON_OUTLINE.png | Outline logo (or use dsd_icon_white.png) |
GET_DOMAIN_FROM_DSD | Domain provided by our team |
Image Size & Format Requirements
Microsoft Teams has specific requirements for icon files. Using incorrect formats or sizes can lead to app upload failures.
Note: Ensure your icons meet the following:
| Icon Type | Required Size | Format |
|---|---|---|
| Color Icon | 192 x 192 px | PNG |
| Outline Icon | 32 x 32 px | PNG |
You can use our default icons if you don't have your own:
- Color Icon:
dsd_icon.png

- Outline Icon:
dsd_icon_white.png
![]()
These two files should be included in your appPackage.zip if you choose to use them.
Step 4: Package the App
Once the manifest and icons are ready:
- Create a folder named
appPackage. - Place the following files inside it:
manifest.json- Color icon image
- Outline icon image
- Select all three files and compress them into
appPackage.zip
Expected structure:
appPackage.zip
├── manifest.json
├── yourlogo.png
└── youroutline.png
Step 5: Uploading Your App to Microsoft Teams (Admin Center)
To deploy your custom Teams app, follow these steps using the Microsoft Teams Admin Center:
1: Open the Teams Admin Portal
Go to the following link:
https://admin.teams.microsoft.com/policies/manage-apps
Note: You must have admin privileges to access this section.
2: Access "Manage apps"
- In the navigation menu, select Teams apps.
- Click on Manage apps.

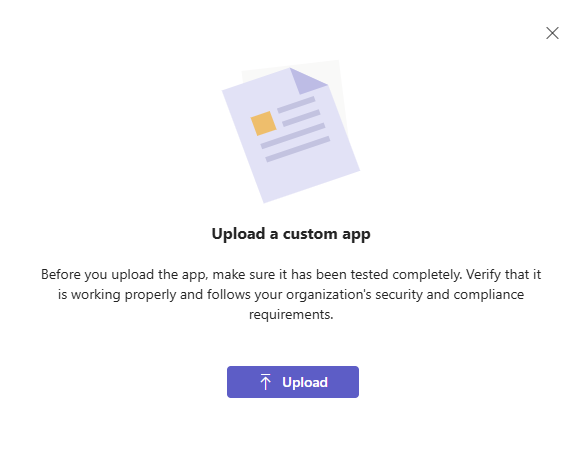
3: Upload Your Custom App
- Click the Upload dropdown in the top-right corner.
- Select Upload new app.

- Click on Upload
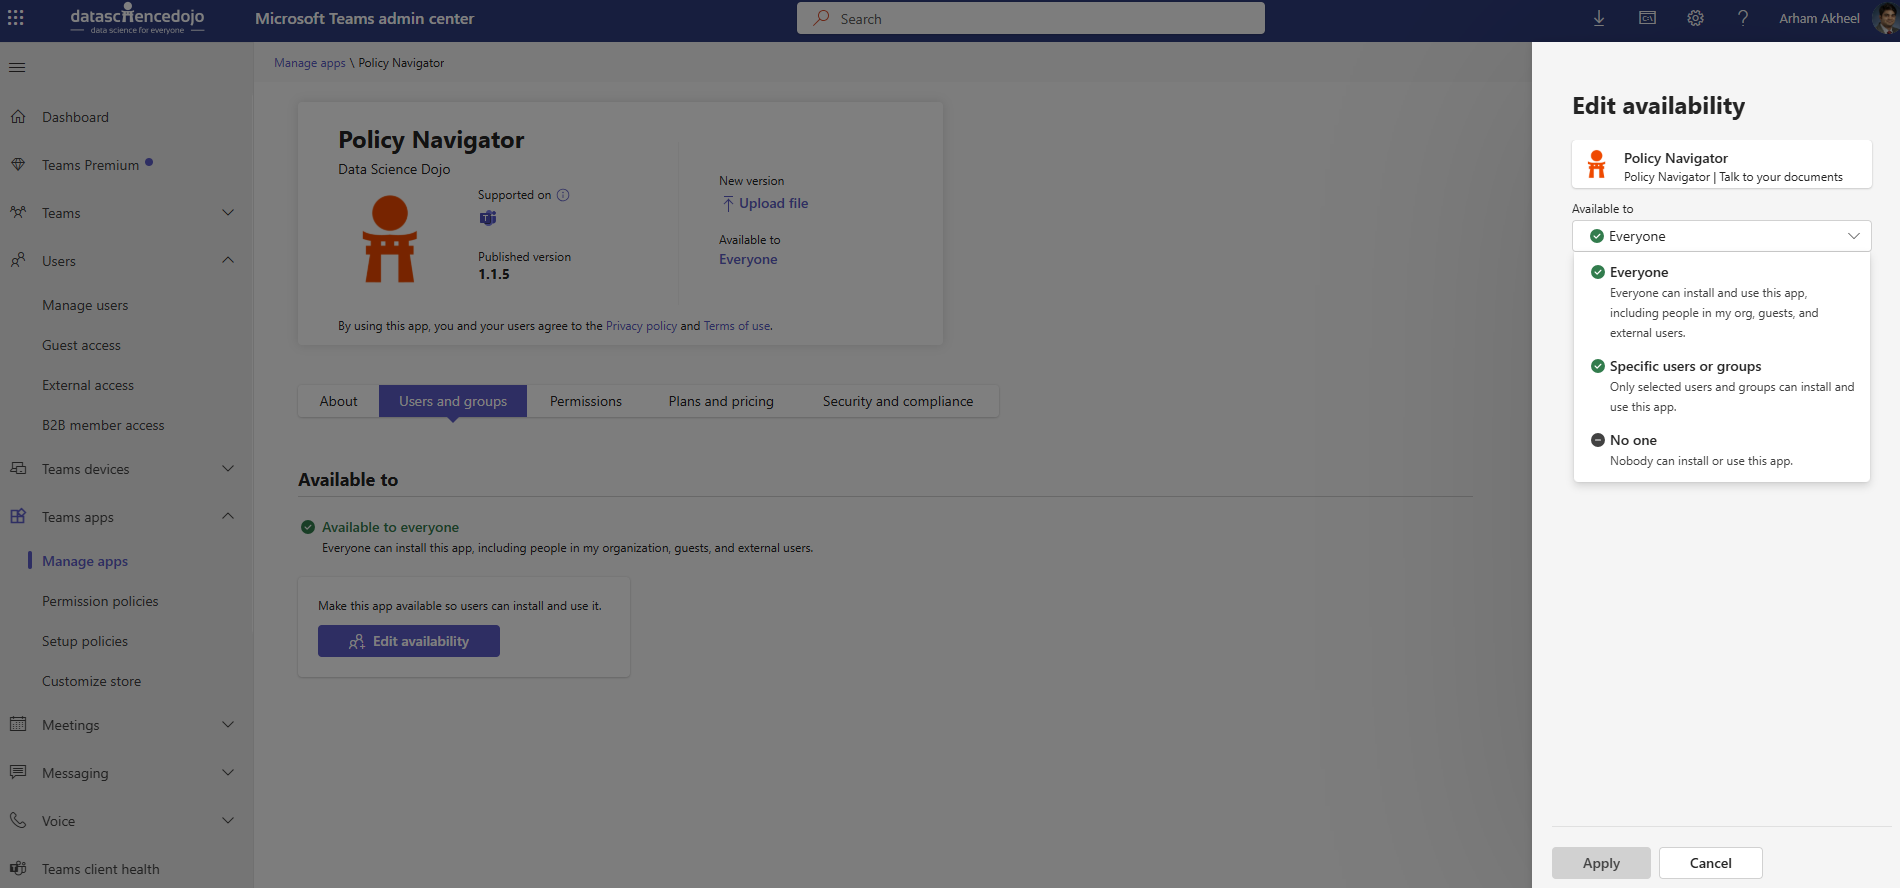
4: Set App Availability
After uploading the app, you can control who can access it:
- Everyone – The app will be available to all users in the organization.
- Specific users or groups – Limit the app to only selected users or Azure AD groups.
- No one – The app remains uploaded but is hidden from all users.